Most sticky welcome posts will contain an image or logo and text to welcome your readers to your blog. You can advertise sales, make announcements, write a little something about yourself and/or your business. If you order a premade or custom design with a sticky welcome post, the designer you are working with will most likely configure it for you... but what if you want to change your content down the road or add a sticky yourself? Well I'm gonna tell you how to do it!
1. Presize an image (it can be a photo of yourself, your logo or any other image) to about 120 or 150px wide using Photoshop, Photobucket, Flickr, Pixlr etc.
2. Upload the image to a blog post under the "left" alignment setting. Make sure you're under the Edit HTML tab, not the Compose tab.

3. Copy and paste the HTML code for your image into a blank Wordpad document.
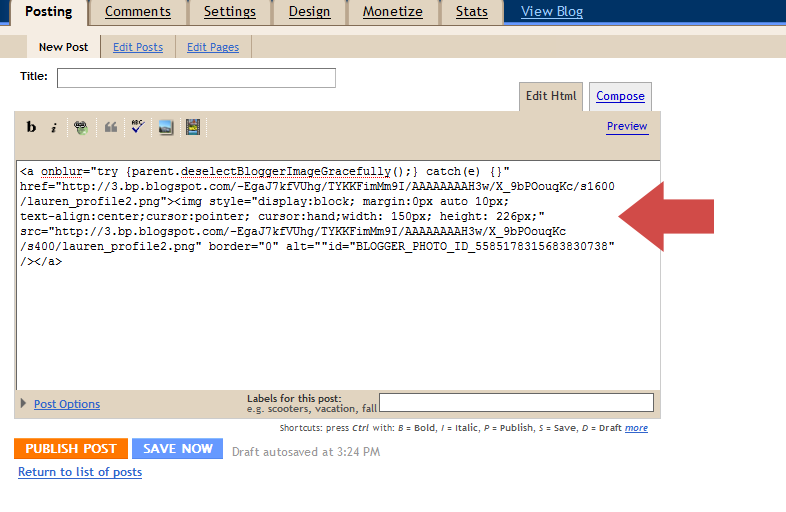 4. You can discard the post you've just created, since all you want is the HTML for the photo.
5. Go to Layout, and click "Edit" on the gadget containing your sticky welcome post. Or if you are creating a new sticky then click "Add a Gadget".

6. Paste the HTML for the image into the pop up box that launches.
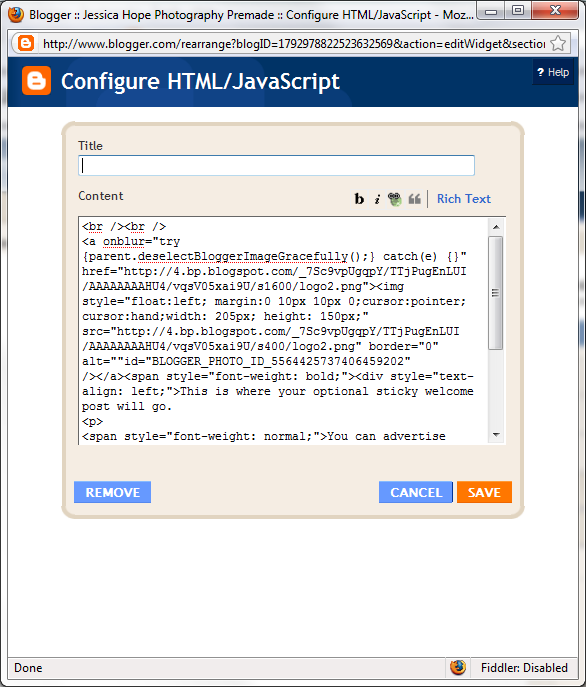
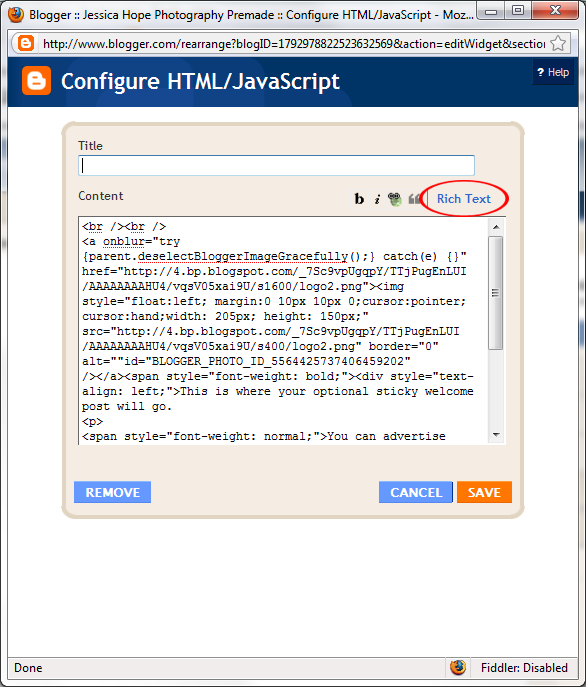
7. Type your welcome message directly after the code. If you want to see your image and text and not just code click "Rich Text."
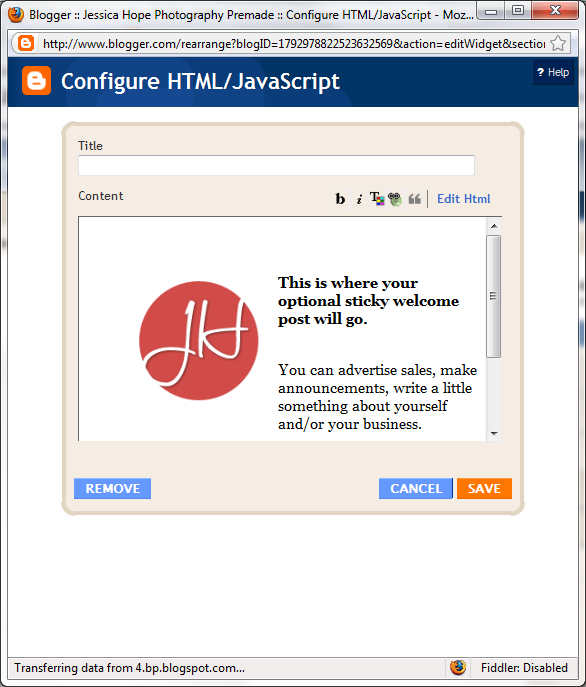
Tip: If you want to start a new paragraph use the code
<p>
immediately before any sentence that you want to begin a new paragraph.




Wow! So very helpful. I'll be incorporating this into my blog soon.
ReplyDelete